Easy to display, high efficiency and deep interaction. These characteristics determine that 360 tours are more and more popular. This immersive approach can make customers, contractors and other stakeholders more involved in the project.
Some customers complained that because of the size of their projects, locating specific rooms in 360 tours is a difficult task. Now our Modelo team has simplified your 360 tour with mini floor plans.
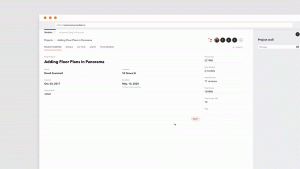
Step 1: Uploading your Mini Floor Plan
First, prepare your mini floor plan. Please make sure that each panoramic image can be located in your floor plan. In the upload tab, in addition to the previous 360 tour option, we also added another floor plan option. After successfully uploading the floor plan image, you will see a thumbnail below the panoramic photo.
Step 2: Add Hotspots on your Floor Plan
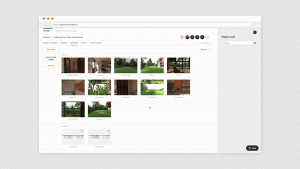
Once your floor plan is ready, you can start creating hotspots. These hotspots will become the anchor points for each part in your 360 tour. Just click “Add Hotspot” in the upper right corner and place the hotspot on the floor plan. You will also notice that all panoramic photos will appear in the bottom bar, which will help you assign hotspots to specific locations. Then, you need to select the correct picture and select the input view.
Step 3: Edit or Delete Hotspots.
If you are not satisfied with the hotspots, you can try to edit or delete them. Click the hotspot on your floor plan. “Edit Location” helps you relocate hotspots. If the hotspot is no longer useful, just click it and select the “Delete” option.
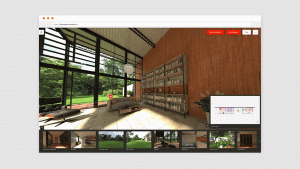
To view the whole tutorial video, click here. Modelo makes it easy for you to explore your 360 tour during design reviews and presentations. Get started on yours today!
